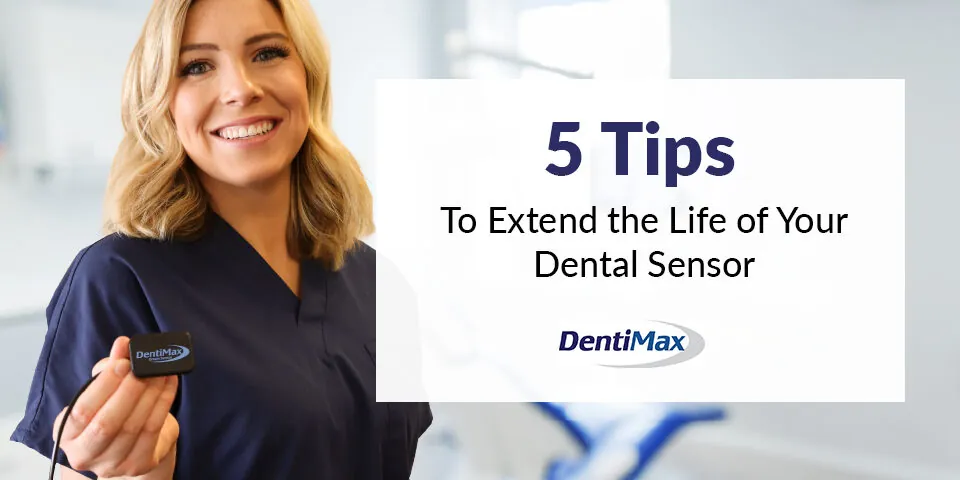
Following a few simple tips will keep your digital dental sensor from breaking- saving you thousands of dollars. Here are the five best and easiest tips that are guaranteed to extend the life of dental sensors.
1. Use a USB Extension Cable with Your Sensor
One of my favorite tips is to attach a USB cable to the sensor. Using a USB extension cable protects the sensor’s USB plug from premature wear and damage by wearing out the inexpensive USB extension cable instead of the sensor’s USB plug.
Standard USB plugs are theoretically designed for 1,000 connections. A sensor’s plug can hit that number very quickly, and if a sensor’s USB plug breaks, you usually have to replace the whole sensor. Some manufactures can replace the cable, but it is still expensive, ranging from $1,000-$4,000 depending on the manufacturer. Using a USB extension cable with your sensor can save you thousands of dollars!
Another benefit gained by using a USB extension cable is that it will protect your sensors in scenarios where the sensor cable is stretched too far or when someone trips on the cable. It creates a potential breakaway point where the extension cable and the sensor will disconnect instead of separating the sensor’s cable from its housing or the sensor’s USB plug bending inside the computer’s USB port.
Product: Belkin USB Extension Cable
Quantity: 1 per sensor
Cost: $5 – $10
Notes: 10 ft. or less to avoid signal degradation
2. Properly Store Your Sensor
It is vital that you properly store your digital sensors to avoid accidental damage. One common practice that you want to avoid is wrapping the sensor’s cable around your hand and storing it in a drawer. This can create kinks in the cable which will eventually break it. Additionally, you never want to store the sensor in a drawer or cabinet because the drawer or cabinet door could shut on the cable or sensor’s housing which could also break the sensor.
The best way to store a sensor is by hanging it on the wall. I recommend using the Bluelounge CableDrop (original size). It has a sticky backside that you simply mount to the wall. Make sure you attach the cable drop high enough on the wall where the cable doesn’t touch the floor. I like the Bluelounge CapleDrop because its design makes it easy to remove the sensor so even if a staff member grabs the sensor by the cable, there is little resistance which helps keep the sensor from breaking.
Some manufacturers make sensor holders shaped like a sensor that you mount to the wall. The sensor slides into the holder and it fits the sensor snuggly. I would avoid using these types of holders because it is hard to remove the sensor and often staff members will end up separating the sensor’s cable from its housing. Also, to prevent the cable from touching the floor, this type of holder must be placed higher on the wall, making it hard for staff members to easily reach.
Product: BlueLoung Cable Drop (original size)
Quantity: 1 per sensor
Cost: $4.99
3. Use a Powered USB Hub
Using a powered USB hub will protect the lifespan of the USB ports on your computer. Although the USB ports on your computer are designed to have USB devices connected to them, they are not designed for the level of use that digital sensors require. Over time, repeatably plugging and unplugging your sensor can damage your computer.
Additionally, using a powered USB hub will improve the signal between the sensor and the computer. When you use a long extension cable with your sensor and plug it directly into the computer, the signal will become weaker. This increases the noise in the signal to noise ratio and lowers the quality of the X-ray image produced. Sometimes the sensor isn’t even detected by the computer because of the weak signal. Using a powered USB hub solves this dilemma by giving the sensor enough power to work at full strength and by boosting the signal between the sensor and the computer.
Instructions
You will want to connect the powered USB hub to one of your computer’s motherboard ports, which can usually be found on the backside of the computer. You will then run the USB cable from the back of the computer to the powered hub. Store the powered hub on the side of your cabinet just below the countertop. You can use double-sided sticky tape to keep it in place. Storing the powered hub just below your countertop makes it extremely easy for your staff to plug and unplug the extension cable (that is always connected to the sensor) into the powered USB hub.
You want to invest in a quality powered USB hub. Some sensors don’t operate with USB 3.0 hubs, check with your manufacturer. I recommend the Belkin 4-Port Powered Hub or the D-Link 4 or 7-Port Powered USB Hub.
Product: Belkin 4-Port Powered USB Hub, D-Link 4-Port, D-Link 7-Port
Quantity: 1<
Cost: $20 – $70
4. Using the Right Positioners/Holders
Positioners not only properly position the sensor in a patient’s mouth, but they also protect the sensor. They are designed with a bite surface which keeps patients from biting directly on the sensor.
Make sure your staff only uses positioners approved by your sensor manufacturer as some positioners will void your warranty. Never use a hemostat on your digital sensor as you would use on traditional film. Additionally, you never want to use a positioner that clamps down on your sensor. I recommend using CLICKTECH positioners.
Product: CliKTECH Positioner Kit (purchase from your sensor manufacturer or supplier)
Quantity: depends on the number of staff members and patients
Cost: $160-$200
5. Train Your Staff
The most common reason for sensors to break is that staff members improperly handle the sensor. Make sure staff members know how to properly handle, position, disinfect, and store the sensor. To help ensure that all staff members are trained, have training sessions and written policies.
Not only do you need to have policies to prevent your sensor from breaking, but you also need to have a plan in place for the scenario that your sensor breaks. Staff members need to know that you expect them to report a broken sensor immediately. Create a culture of trust and accountability, so they feel comfortable doing so. The sensor’s manufacturer and accidental damage warranties have end dates, so you want to make sure you have time to send the sensor in to be evaluated and replaced. Additionally, staff members should report why the sensor broke (if known), so you can create a plan to ensure that the same accident never happens again.
Implementing these tips will help maintain your equipment- potentially saving you thousands of dollars. It is well worth the small investment; moreover, it is guaranteed to extend the life of your digital sensors.


